


📌 1. Short Introduction & Abstract
Fasting Blood Sugar (FBS) is one of the foundational clinical chemistry assays conducted in diagnostic medical laboratories. It quantifies the concentration of glucose in venous plasma following a strict 8 to 12-hour overnight fast. Accurate measurement of FBS is essential for primary screening of Diabetes Mellitus, assessing carbohydrate metabolism, monitoring treatment responses, and preventing microvascular and macrovascular diabetic complications.
🎯 2. Objective of the Test
- ✓ Screening and diagnosis of Diabetes Mellitus and Impaired Fasting Glucose (Prediabetes).
- ✓ Monitoring glycemic control and therapeutic response in established diabetic patients.
- ✓ Evaluation of carbohydrate metabolism in patients with Metabolic Syndrome, gestational diabetes risk, or endocrine disorders.
- ✓ Routine baseline assessment for executive health screening and pre-operative evaluation.
🧪 3. Enzymatic Reaction Principle (Glucose Oxidase - GOD-POD Method)
Glucose in the sample is enzymatically oxidized by Glucose Oxidase (GOD) to gluconic acid and hydrogen peroxide (H₂O₂). In the presence of Peroxidase (POD), hydrogen peroxide reacts with 4-aminoantipyrine (4-AAP) and phenol to form a pink/red quinoneimine dye.
The intensity of the quinoneimine complex color is directly proportional to the glucose concentration, measured photometrically at 500 nm (492–550 nm) against a reagent blank.
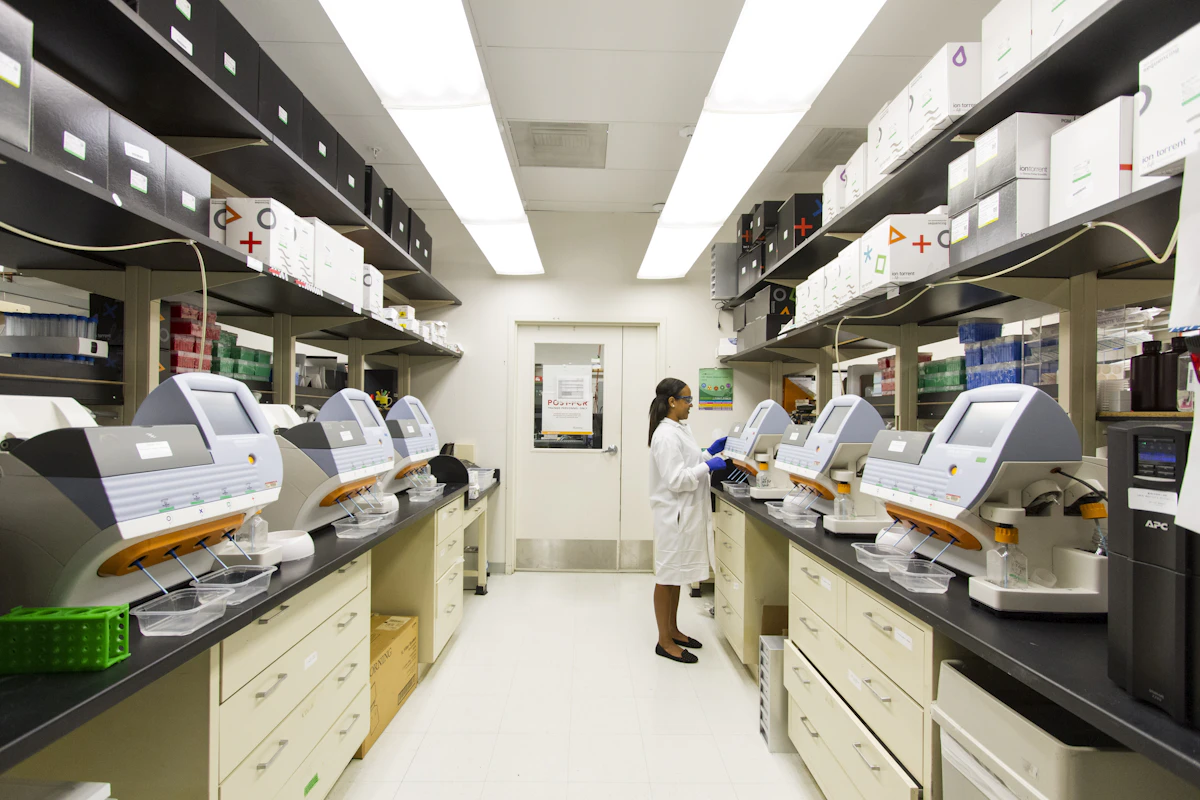
🔬 4. Laboratory Equipment & Instruments
🧪 5. Reagent Preparation & Stability
- Most commercial GOD-POD reagents are liquid ready-to-use (RTU) monoreagents.
- If using lyophilized reagent formats, reconstitute with supplied buffer and allow 15–30 minutes at room temperature (15–25 °C) to reach equilibrium before testing.
- Store reagents at 2–8 °C protected from light. Reagent is stable up to expiry date if un-contaminated and blank absorbance at 500 nm is < 0.100 AU.
🩸 6. Sample Type & Pre-analytical Protocol
| Parameter | Details & Pre-analytical Protocol |
|---|---|
| Sample Specimen | Venous Plasma in Sodium Fluoride / Potassium Oxalate tube (Gray top) or Serum |
| Fasting Requirement | Strict 8–12 hours overnight fast (water permitted) |
| Glycolysis Inhibition | Fluoride inhibits enolase to prevent in vitro glycolysis (~5–7% glucose degradation per hour at RT in unseparated blood) |
| Specimen Stability | Separated plasma: 8 hours at 15–25 °C, 72 hours at 2–8 °C, 30 days frozen at -20 °C |
| Interferences | Gross hemolysis, lipemia, or delayed centrifugation cause falsely decreased glucose readings |
📋 7. Complete Step-by-Step Procedure
| Step | Action & Protocol Execution |
|---|---|
| Step 1 | Verify patient details, label tubes, and centrifuge specimen at 3000–3500 RPM for 10 minutes to separate clear plasma/serum. |
| Step 2 | Calibrate analyzer using standard/calibrator and run normal & pathological controls (Quality Control Level 1 & Level 2). |
| Step 3 | Pipette 10 µL of Blank (distilled water), Standard (100 mg/dL), and Patient Sample into designated reaction cuvettes. |
| Step 4 | Add 1000 µL (1.0 mL) of GOD-POD Working Reagent to each cuvette and mix gently. |
| Step 5 | INCUBATION PROTOCOL: Incubate for 5 minutes at 37 °C in a water bath/incubator OR 10 minutes at Room Temperature (15–25 °C). |
| Step 6 | Zero instrument with Reagent Blank and measure absorbance of Standard (A_std) and Samples (A_sample) at 500 nm against Blank within 30–60 minutes. |
| Step 7 | Calculate glucose concentration: Glucose (mg/dL) = (A_sample / A_std) × Standard Conc (100 mg/dL). Confirm assay linearity (up to 500 mg/dL). |
📊 8. Result Interpretation (ADA Guidelines)
| Result Range | Clinical Interpretation |
|---|---|
| < 100 mg/dL (< 5.6 mmol/L) | Normal Fasting Glucose |
| 100–125 mg/dL (5.6–6.9 mmol/L) | Impaired Fasting Glucose (Prediabetes) |
| ≥ 126 mg/dL (≥ 7.0 mmol/L) on 2 separate days | Provisional Diagnosis of Diabetes Mellitus |
| < 70 mg/dL (< 3.9 mmol/L) | Hypoglycemia (Critical alert value requiring urgent clinical evaluation) |
📐 9. Normal Reference Ranges & Unit Conversion
| System / Region | Normal Reference Range |
|---|---|
| mg/dL (Sudan, USA, Middle East) | 70–99 mg/dL |
| mmol/L (International SI Units, UK, Canada) | 3.9–5.5 mmol/L |
💡 10. Clinical Comment & Diagnostic Limitations
While FBS is indispensable for screening, single glucose measurements can be affected by acute stress, exercise, circadian variation, or fasting non-compliance. For long-term glycemic control evaluation, Glycated Hemoglobin (HbA1c) provides a superior 2–3 month glycemic average index without requiring fasting.